Router Table - Design Stage
As previously posted, the goal of this project is to create a table for my Triton MOF001 router using a Kreg table insert that I bought a few years ago. While this is a relatively simple project, it will enable me to use the router for more complex projects in a safe manner.
The router table needs to be easily portable as I don’t currently have a permanent workspace and will get used on top of a Workmate (or hopefully a better bench later).
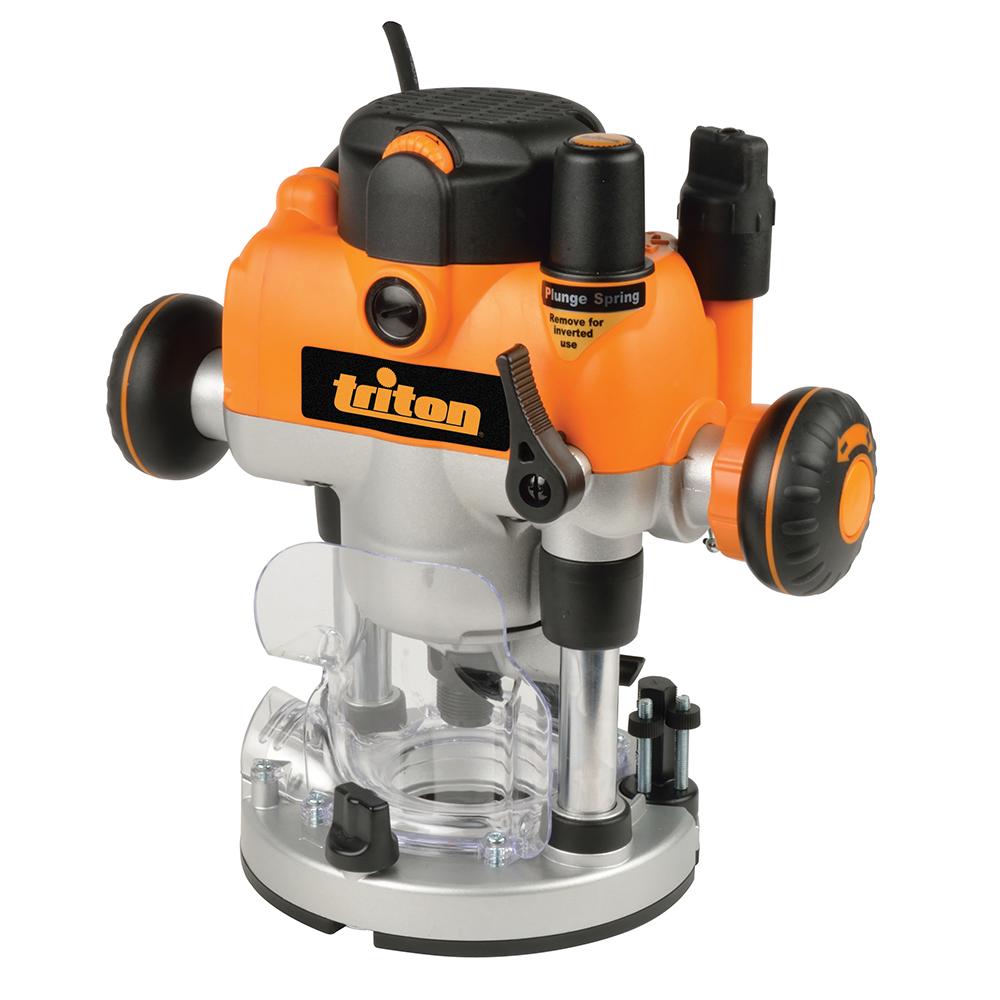
The first step to achieve this was to recreate the router and router insert as a set of models in Fusion 360. This allowed me to design the table and be sure that everything will fit. The models lack much of the detail of the real thing, but the dimensions should be accurate enough.
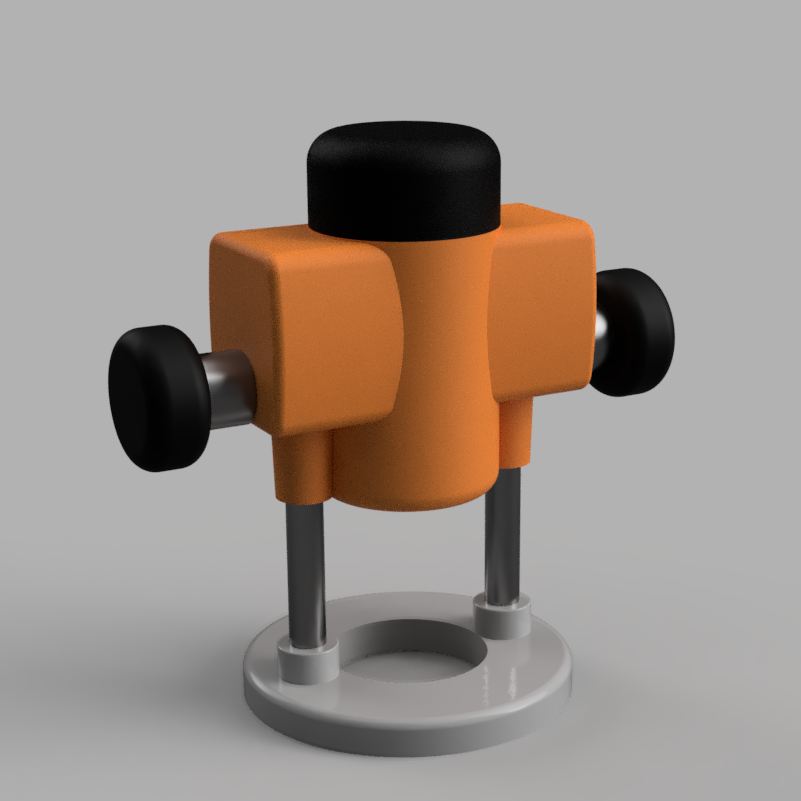
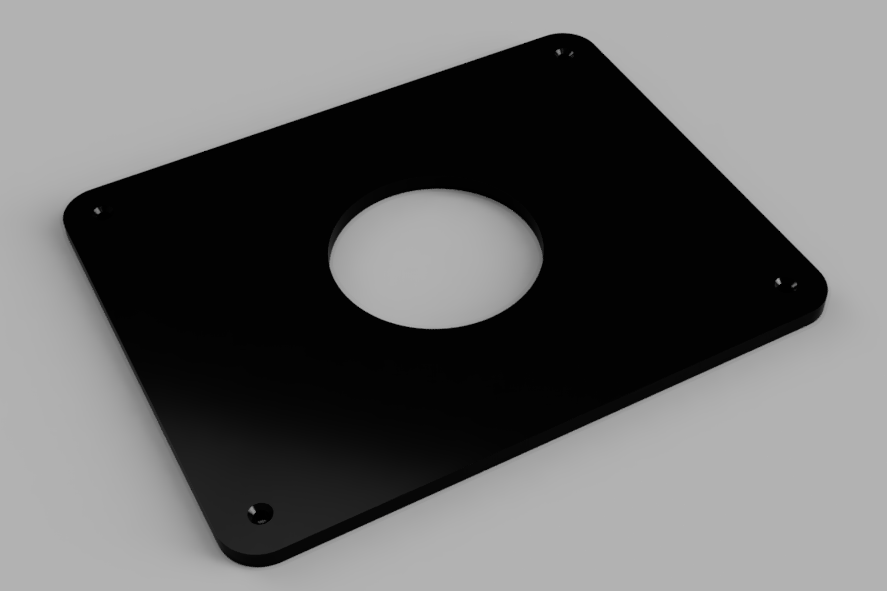
Once they were recreated I could get to work designing the actual table. The trickiest part of the design was the top surface because everything relied on the dimensions of the insert plate and T-Tracks. This was complicated by the insert plate having inch-based measurements, due to Kreg being an American company. Thankfully Fusion 360 allows specifying different units for individual measurements, but it still resulted in some ‘odd’ dimensions.
Once the top panel was defined the rest of the design was a simple pair of legs, some bracing parts and some reinforcement under the top:
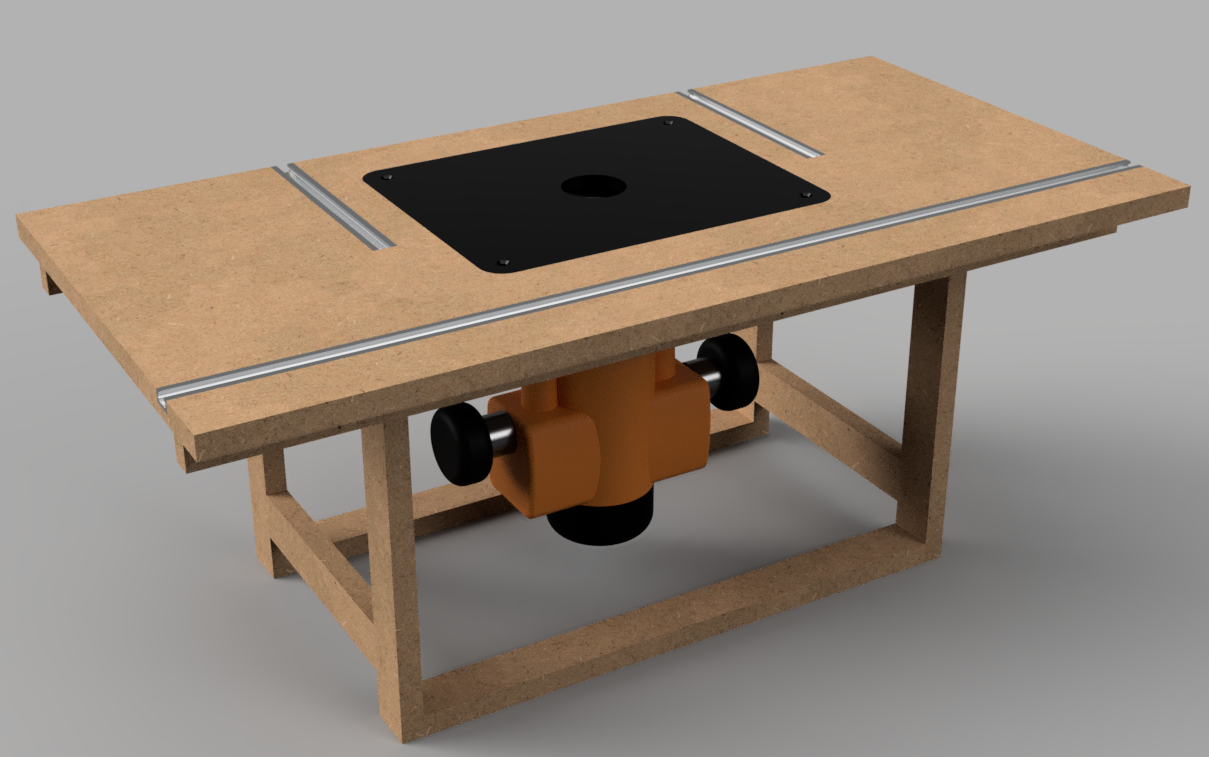
This design includes two T-Track slots for mounting the fence plus a third track slot for a mitre gauge or finger board. The top surface has an overall side of 800x400mm which should be large enough for most projects while still being small enough to fit on-top of a Workmate.
The final piece of design work is the router fence for performing straight routing operations. This is simply made of two pieces of MDF with a T-Track running the length of the upright and a replaceable insert for the router bit:
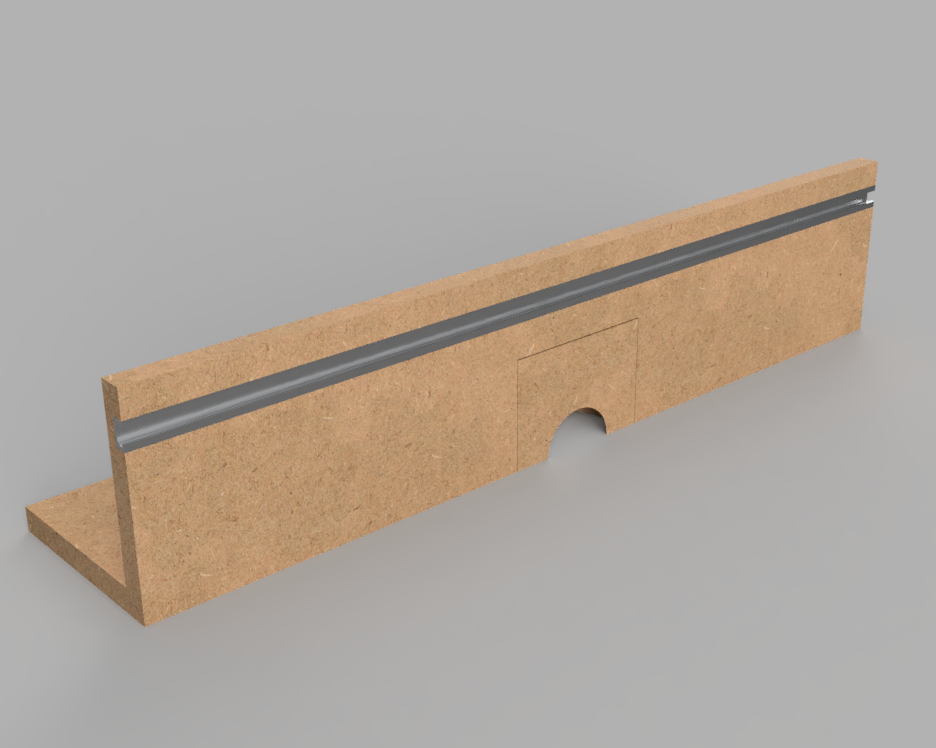
The rear of the fence consists of a couple of bracing parts and holes for securing the fence to the main table:
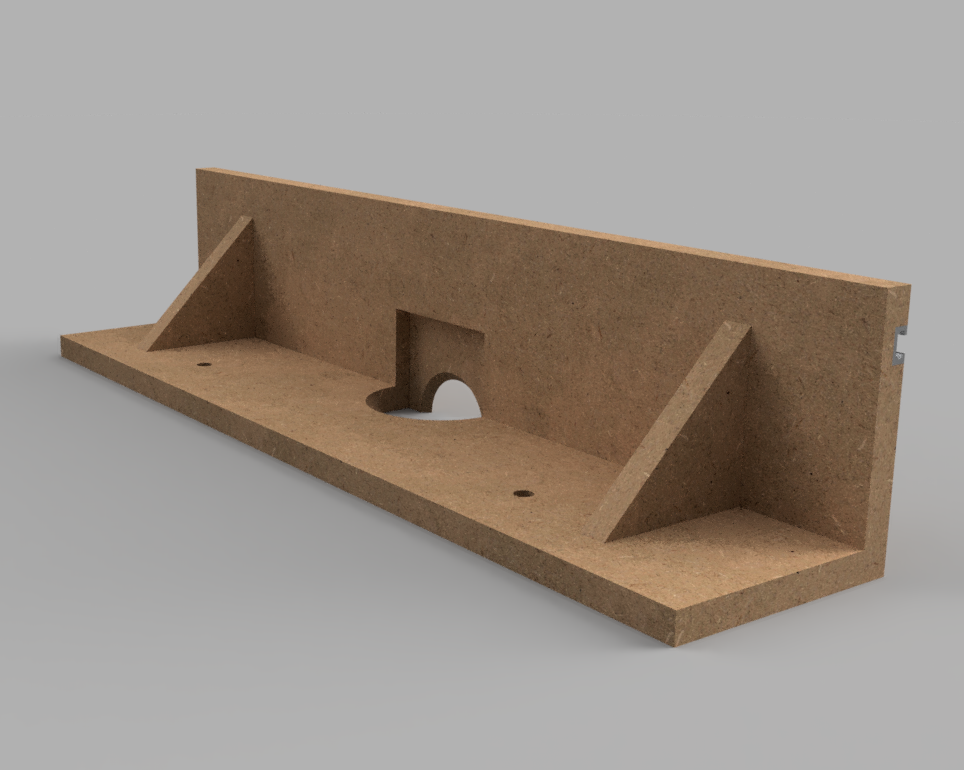
With the design finalised I have ordered the necessary parts & tools needed to build the table:
- Kedu KJD17 NVR Switch.
- Generic 19 x 9.5mm T-Track.
- Trend CraftPro 19.1 x 25.4mm straight cutter.
- 4 x 3mm round neodymium magnets for holding the fence inserts.
